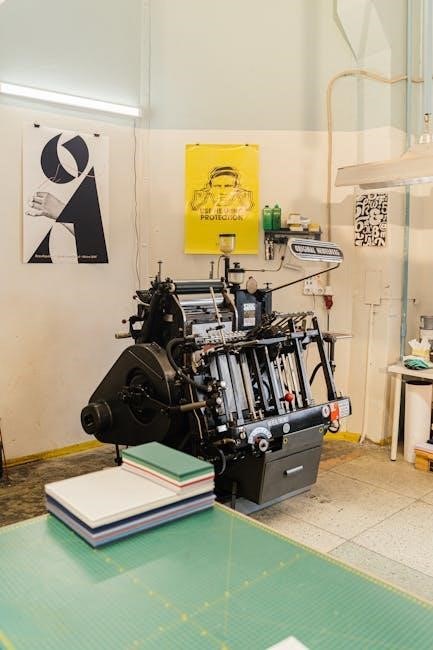
manual die cutter
Manual Die Cutters: A Comprehensive Guide (Updated 04/07/2026)
Today, 04/07/2026, explore manual die cutters like Sizzix Big Shot and Spellbinders Platinum 6, enhancing crafting with consistent pressure and extended plate life using magnetic mats․
What is a Manual Die Cutter?
Manual die cutters are mechanical tools used for cutting shapes from various materials like paper, cardstock, and vellum․ Unlike their powered counterparts, they rely on human force to create precise designs․ These machines utilize metal dies – often intricate in design – that act as stencils, forcing the material through cutting plates when pressure is applied․
Historically, die cutting involved laborious hand-cutting with scissors, a slow and often imprecise process․ Manual die cutters offer a significant improvement, providing cleaner cuts and repeatable designs; They bridge the gap between slow manual methods and the skill required for power knives․ Machines like the Sizzix Big Shot and Spellbinders Platinum 6 exemplify this, offering crafters a versatile and accessible way to create detailed shapes for projects like junk journals, cards, and mini albums․
The History of Manual Die Cutting
Die cutting’s origins trace back to the 19th century, initially employed in industrial settings for mass production of shapes from materials like leather and paperboard․ Early methods were far from the convenient tools crafters use today, relying on heavy machinery and skilled operators․
The evolution towards manual die cutting for hobbyists gained momentum with the introduction of machines like the Sizzix Big Shot in the early 2000s․ This brought the precision of die cutting to a wider audience․ Before this, crafters relied on tedious hand-cutting with scissors․ Subsequent innovations, such as the Spellbinders Platinum 6, further refined the process, addressing issues like inconsistent pressure and offering enhanced capabilities for techniques like foiling․ These advancements democratized intricate design creation, fueling the growth of paper crafting․
Types of Manual Die Cutters Available
The market offers diverse manual die cutters catering to varied crafting needs․ Sizzix Big Shot & Big Shot Foldaway are popular choices, known for versatility and a wide range of die compatibility․ The Big Shot Foldaway prioritizes portability, ideal for crafters with limited space․
Spellbinders Platinum 6 stands out with its precision and ability to handle intricate designs, particularly excelling with foiling techniques․ Beyond these, other popular brands & models exist, often differing in opening sizes (6” or 9”) to accommodate larger dies and embossing folders․ Choosing depends on project scale and desired features; larger openings suit expansive designs, while standard sizes suffice for cards and smaller projects․
Sizzix Big Shot & Big Shot Foldaway
The Sizzix Big Shot remains a cornerstone for many crafters, celebrated for its robust build and compatibility with a vast library of Sizzix dies and embossing folders․ Its 6” opening is versatile for standard cardmaking and scrapbooking projects․ The Big Shot Foldaway builds upon this foundation, adding the crucial benefit of portability․
Its folding design allows for easy storage and transport, making it ideal for workshops or crafting on the go․ However, users sometimes encounter inconsistent pressure, particularly when foiling, requiring adjustments like tightening the handle’s hex nut․ Despite this, the Big Shot’s accessibility and wide support make it a favored choice․
Spellbinders Platinum 6
The Spellbinders Platinum 6 emerges as a compelling alternative, particularly noted for its consistent pressure – a common issue with some Big Shot models when used with foiling techniques․ Many users switching from Sizzix, experiencing foil quality problems, have found the Platinum 6 delivers superior results․
Its 6” opening accommodates a wide range of dies and embossing folders, and it’s specifically designed to work seamlessly with the Glimmer Hot Foil system․ Often available on sale, the Platinum 6 represents a strong value proposition․ It’s praised for reliability and minimizing the need for frequent plate changes, especially when paired with a magnetic magic mat․
Other Popular Brands & Models
Beyond Sizzix and Spellbinders, the manual die-cutting landscape includes various brands catering to diverse needs․ While specific models weren’t explicitly mentioned, the need for machines with larger openings – 9” – was highlighted for those working with extra-large embossing folders․
Exploring options beyond the dominant players can uncover unique features or price points․ The choice often depends on the scale of projects and desired capabilities․ Remember, a 6” opening is generally sufficient for embossing, but larger formats require dedicated machines․ Researching user reviews and comparing specifications is crucial for finding the perfect fit for your crafting style․
Key Components of a Manual Die Cutter
Essential parts include cutting plates, a die release folder, the handle and gears for pressure, and adjustable knobs to control settings for varied materials․
Cutting Plates
Cutting plates are fundamental to the die-cutting process, forming the core surface against which dies create impressions․ Typically, a set includes a top plate, a bottom plate, and sometimes an additional shim for textured impressions or thicker materials․
These plates must be consistently maintained to ensure optimal performance․ Warping is a common issue, dramatically impacting cut quality; however, utilizing a magnetic magic mat from sources like scrapbook․com can significantly reduce warping and extend plate lifespan – some users report two years of use with the same top plate!
Proper storage is also crucial․ Regular cleaning and maintenance will help preserve their integrity, ensuring consistent pressure and preventing inconsistencies when foiling or embossing․
Die Release Folder
The die release folder, often a textured plastic sheet, plays a vital role in cleanly separating the die-cut image from the die itself․ It’s positioned within the “sandwich” of plates and dies, facilitating the release process and preventing delicate designs from tearing or sticking;
This component is particularly important when working with intricate dies or sticky materials like adhesive sheets․ A quality release folder ensures a smooth, effortless removal of the die-cut, preserving the detail and integrity of your creation․
While often overlooked, the condition of the release folder impacts the final result․ Maintaining a clean and undamaged folder contributes to consistent, professional-looking die cuts․
Handle & Gears
The handle and gear system are the power source of a manual die cutter, converting your physical effort into the consistent pressure needed for cutting․ A smooth, reliable handle rotation is crucial for clean die-cuts․ Issues often arise from a loose hex nut on the handle, impacting pressure and foil quality, as experienced with the Big Shot Plus and Glimmer machine․
The gears themselves must be properly aligned and maintained․ Regular inspection ensures efficient operation and prevents stalling․ Consistent cranking pressure is key; uneven force can lead to inconsistent results․
A well-maintained handle and gear system guarantees longevity and optimal performance of your die-cutting machine․
Adjustable Knobs & Settings
Adjustable knobs on manual die cutters control the pressure applied during the cutting process, vital for different materials․ Machines with a 6-inch opening are generally sufficient for embossing, while a 9-inch opening accommodates larger embossing folders․ These settings impact the quality of both die-cuts and embossed designs․
Understanding how these knobs function is crucial for achieving desired results․ Inconsistent pressure, a common issue, can ruin foiling projects․ Fine-tuning these settings allows for versatility, adapting the machine to cardstock, vellum, or foil․
Proper adjustment ensures clean cuts and beautifully textured impressions․
Using a Manual Die Cutter: A Step-by-Step Guide
Begin by preparing dies and paper, then “sandwich” them between cutting plates․ Apply consistent pressure by cranking the handle, and carefully release your die-cut!
Preparing Your Materials (Dies, Paper, etc․)
Before you begin your die-cutting journey, meticulous preparation is key to achieving flawless results․ First, select your desired die – these come in countless shapes and sizes, offering endless creative possibilities․ Next, choose your paper or cardstock; consider the weight and texture for optimal cutting;
Ensure your die is clean and free of any debris that could affect the cut quality․ For intricate designs, a slightly heavier weight cardstock often performs best․ Gather your cutting plates, a die release folder, and familiarize yourself with the machine’s sandwich configuration․ Having everything readily available streamlines the process and minimizes frustration․ Remember, proper material selection sets the stage for a successful die-cutting experience!
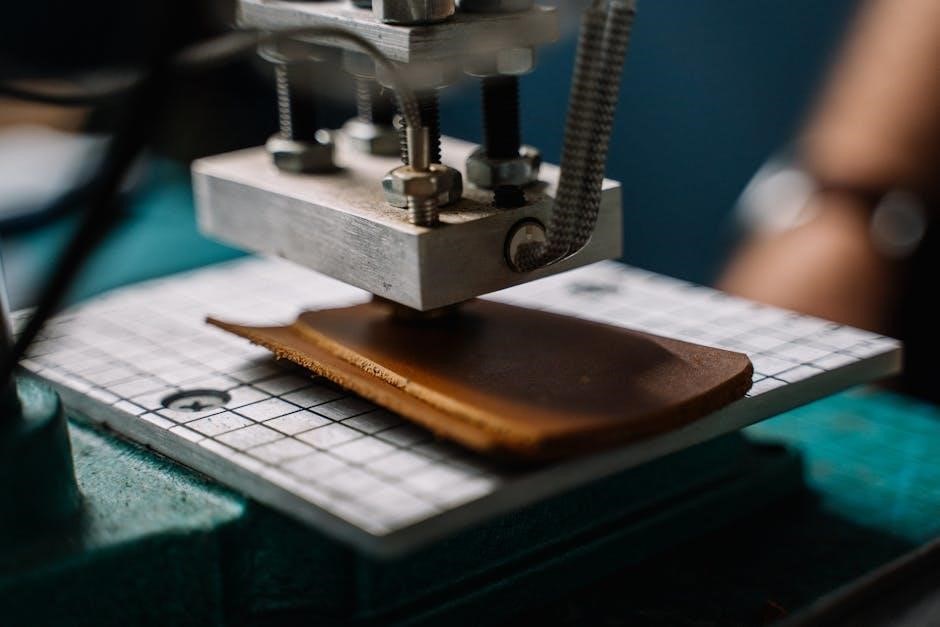
Sandwiching the Die & Material
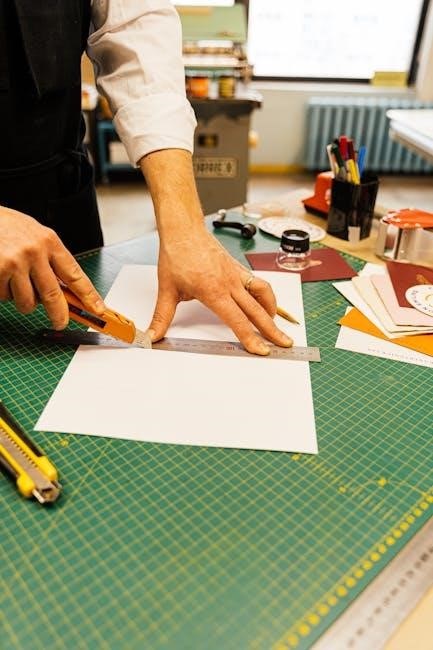
Creating the “sandwich” is crucial for successful die-cutting․ Begin with a cutting plate as the base․ Then, carefully layer your chosen material – cardstock, paper, or specialty media – onto the plate․ Position your die, steel-rule blade side up, directly over the area you wish to cut․
Next, cover the die with a die release folder; this protects your die and aids in easy removal․ Finally, top with the second cutting plate․ This layered configuration ensures even pressure distribution during cranking․ Incorrect layering can lead to incomplete cuts or damage to your die․ A properly constructed sandwich guarantees clean, precise die-cuts every time, maximizing your machine’s potential․
Cranking the Handle: Applying Consistent Pressure
Consistent pressure is paramount when using a manual die cutter․ Slowly and steadily turn the handle, applying even force throughout the entire rotation․ Avoid jerking or stopping mid-crank, as this can result in uneven cuts and potentially damage your dies or machine․
If encountering resistance, do not force it; check your sandwich layering․ A smooth, controlled crank ensures the die cuts cleanly through your material․ Remember, the machine relies on your consistent effort․ For foil application, consistent pressure is even more critical to achieve a professional, flawless finish․ A stable machine, potentially with a tightened hex nut, aids this process․
Releasing the Die Cut
Carefully remove the cutting plates after cranking․ Gently separate the top plate, revealing the die-cut design embedded within the material․ Avoid pulling forcefully, as this can tear delicate shapes․ Use a die release folder or a similar tool to assist in cleanly lifting the die-cut from the die itself․
Inspect the cut for any imperfections; inconsistent pressure during cranking may require a retry․ Remember, some materials, like intricate foil designs, require extra patience․ Properly releasing the die cut preserves both the design and the longevity of your valuable dies․ A magnetic mat can also aid in easier release and reduce warping․

Troubleshooting Common Issues
Address inconsistent pressure, warped plates, handle malfunctions (tighten the hex nut!), and machine stalling for optimal die-cutting performance and consistent results․
Inconsistent Pressure & Foil Quality
Experiencing frustratingly poor foil transfer? Inconsistent pressure is a common culprit when using manual die cutters, particularly with machines like the Sizzix Big Shot Plus and Glimmer machine․ Users report that achieving even foil application can be challenging, resulting in patchy or incomplete coverage․
Fortunately, a solution often lies in ensuring proper machine maintenance․ Tightening the hex nut on the handle can significantly improve pressure consistency․ Switching to a Spellbinders Platinum 6, known for its reliable pressure, is another effective remedy․ Remember, consistent pressure is key to achieving professional-looking foiled designs, so address this issue promptly for beautiful results!
Warped Cutting Plates
Warped cutting plates are a frequent issue for manual die cutter users, diminishing cutting performance and overall machine efficiency․ Over time, plates can bend and distort, leading to uneven cuts and difficulty processing materials․ However, a simple solution exists to dramatically extend plate lifespan: the Magnetic Magic Mat․
Available at scrapbook․com, this innovative mat replaces one cutting plate, reducing warping significantly․ Users have reported using the same top plate for two years with the aid of a Magic Mat! Proper storage is also crucial; avoid stacking plates improperly․ Addressing warped plates proactively ensures consistent, high-quality die-cutting results․
Handle Malfunctions (Hex Nut Tightening)
Occasional handle malfunctions can plague manual die cutters, particularly the Sizzix Big Shot; A common fix involves tightening the “hex nut” – a crucial adjustment for maintaining proper gear engagement and consistent pressure․ When the handle feels loose or the machine struggles, this is often the first step to take․
One user reported that tightening this nut on their Big Shot restored functionality when it stopped working effectively with a Glimmer machine․ Ensuring this nut is secure guarantees smooth cranking and optimal force application․ Regularly checking and tightening this component can prevent frustrating interruptions and prolong the machine’s operational life․
Die Cutting Machine Stalling
Experiencing a stalling die cutting machine can be incredibly frustrating․ Often, this issue stems from inconsistent pressure during the cranking process, particularly when using foil or intricate dies․ Insufficient force prevents a clean cut, causing the machine to bind and halt․ Addressing this requires ensuring even pressure throughout the entire crank․
Furthermore, warped cutting plates contribute significantly to stalling․ Utilizing a magnetic magic mat from scrapbook․com can dramatically reduce warping, extending plate life and improving performance․ If stalling persists, revisit the hex nut tightening procedure, as a loose connection impacts gear engagement and overall power transfer․
Extending the Life of Your Cutting Plates
Employ magnetic magic mats to minimize warping, ensuring two years of use from a single top plate, alongside proper storage and cleaning routines․
Magnetic Magic Mats & Their Benefits
Magnetic magic mats, available from retailers like scrapbook․com, represent a significant advancement in maintaining the longevity of your manual die cutter’s plates․ These innovative mats function by replacing one of the standard cutting plates within the machine’s sandwich configuration․
The primary benefit lies in their ability to dramatically reduce plate warping, a common issue that leads to inconsistent cuts and diminished performance․ By providing a stable, magnetic surface, the mat counteracts the pressure and stress applied during die-cutting․
Users report extending the lifespan of their plates considerably – one individual successfully used a magnetic mat for two years before needing replacement․ This translates to cost savings and reduced maintenance, making them a worthwhile investment for serious crafters․
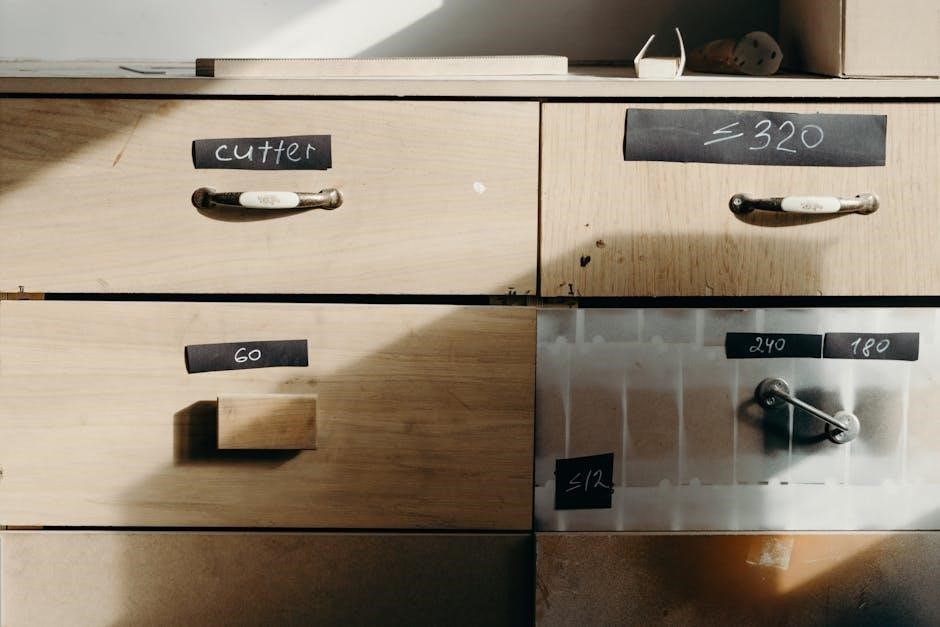
Proper Plate Storage
Protecting your cutting plates when not in use is crucial for maintaining their flatness and ensuring consistent die-cutting performance․ Improper storage can lead to warping and damage, diminishing their effectiveness over time․
Avoid stacking plates directly on top of each other without any protection․ Instead, interleave them with acid-free paper or cardstock to prevent scratches and pressure points․ A dedicated plate storage box or sleeve is an excellent investment․
Store plates in a cool, dry environment, away from direct sunlight and extreme temperatures․ Humidity can contribute to warping, while excessive heat can cause deformation․ Proper storage safeguards your investment and extends plate life․
Cleaning & Maintenance of Plates
Regular cleaning is essential for optimal die-cutting performance and prolonging the life of your plates․ Residue from adhesives, paper fibers, and foil can build up, affecting the cutting quality and potentially damaging the plate surface․
Use a soft, lint-free cloth lightly dampened with isopropyl alcohol to gently wipe down the plates after each use․ Avoid abrasive cleaners or harsh chemicals, as these can scratch or corrode the surface․
Inspect plates regularly for any signs of damage, such as scratches, dents, or warping․ Addressing minor issues promptly can prevent them from escalating into more significant problems․ Consistent maintenance ensures smooth operation․

Die Cutting Materials: What Works Best?
Cardstock of varying weights excels, while vellum and foil add unique textures․ Avoid excessively thick or fibrous materials for optimal results․
Cardstock & Paper Weights
Choosing the right cardstock weight is crucial for successful die-cutting․ Lighter weights (65-80lb) are ideal for intricate designs and delicate cuts, offering flexibility and ease of use with manual machines like the Sizzix Big Shot․
Medium weights (80-110lb) provide a good balance between sturdiness and cut-ability, suitable for cards, tags, and layered elements․ Heavier cardstock (110lb+) requires more pressure and may necessitate adjustments to your machine settings, potentially straining the handle or gears․
Experimentation is key! Different brands and finishes will react uniquely․ Always test a small piece before committing to a large project․ Remember, consistent pressure is vital, and inconsistent pressure can ruin foil applications․
Specialty Materials (Vellum, Foil, etc․)
Expanding beyond cardstock opens exciting possibilities! Vellum, with its translucent quality, requires a light touch and sharp dies for clean cuts․ Foil, however, demands precise pressure – inconsistent force leads to frustratingly patchy results, as many users experience with the Big Shot and Glimmer machines․
Consider the Spellbinders Platinum 6 for superior foil performance; it’s a popular upgrade․ Textured papers can also be challenging, potentially requiring multiple passes․ Using a magnetic magic mat from scrapbook․com can dramatically reduce warping and improve consistency with these materials․
Always test a scrap piece first! Adjust your machine settings and consider using a slightly heavier cutting plate for optimal results․
Materials to Avoid
Certain materials can damage your machine or yield poor results․ Avoid excessively thick or rigid materials that strain the gears and potentially cause stalling, a common issue reported with the Big Shot․ Heavily embellished papers, like those with chunky glitter or thick adhesives, can also gum up the works and dull your dies․
Similarly, materials with a very sticky surface may adhere to the cutting plates, causing tearing and requiring extensive cleaning․ While some experimentation is encouraged, proceed cautiously with anything outside standard cardstock, vellum, or foil․
Protect your investment – and your sanity – by sticking to recommended materials!
Advanced Techniques & Accessories
Explore embossing folders, larger 9″ dies, and multi-layer designs to elevate your projects; textured impressions add depth and dimension to your crafts․
Embossing Folders & Their Use
Embossing folders dramatically expand the creative possibilities of your manual die cutter, adding texture and dimension to paper and cardstock projects․ These folders, used in conjunction with your machine, create raised designs without cutting through the material․
For optimal results, sandwich the embossing folder with your chosen cardstock, ensuring it’s centered․ Machines with a 6″ opening are generally sufficient for most embossing folders, though larger 9″ opening machines accommodate oversized designs․
Experiment with different folder types – from subtle textures to bold, intricate patterns․ Remember, consistent pressure is key for a clean, well-defined embossed image․ Embossing folders are a fantastic way to quickly and easily add a professional touch to cards, scrapbook pages, and other paper crafts․
Using Larger Dies (9″ Opening Machines)
9″ opening machines unlock a world of possibilities for crafters desiring larger, more impactful die cuts․ These machines comfortably accommodate oversized dies, perfect for creating statement pieces in scrapbooking, cardmaking, and mixed media projects․
When working with larger dies, ensure they are properly aligned within the machine’s opening․ Consistent pressure remains crucial, but the wider surface area may require a slightly firmer crank․
Consider the weight of your chosen material; heavier cardstock might necessitate extra care․ While not essential for all projects, a 9″ machine is invaluable if you frequently utilize extra-large embossing folders or intricate, expansive die designs, offering greater creative freedom․
Multi-Layer Die Cuts
Multi-layer die cuts elevate projects with depth and dimension, creating stunning visual effects․ This technique involves using multiple dies, often from the same set, to build up an image layer by layer․ Each layer can be a different color or texture, adding complexity and interest․
Precise alignment is key for successful multi-layering․ Consider using a light adhesive or repositionable tape to temporarily hold layers in place before adhering them permanently․
Experiment with foam adhesive between layers to further enhance the 3D effect․ Manual die cutters excel at this, allowing controlled pressure for clean cuts on each individual layer, resulting in professional-looking, intricate designs․
Textured Impressions
Textured impressions, achieved with embossing folders, add a tactile and visual richness to projects․ Manual die cutters are perfectly suited for embossing, offering the control needed for consistent results․ These folders create raised designs on paper, cardstock, and even foil, without cutting through the material․
Experiment with different embossing folders to achieve various textures – from subtle patterns to bold, dramatic designs․ Remember that the quality of the impression depends on consistent pressure during cranking․
Combine textured impressions with die cuts for truly unique creations․ The interplay of texture and shape adds depth and sophistication to cards, scrapbooks, and other paper crafts․